
Web Conversations floating widget
Introduction
Welcome to the Web Conversations getting started guide. On this page, you'll find all the information you need to create your first floating Web Conversation configuration.
Creating a floating configuration
After creating content in a Conversational AI Cloud database, you can display it by creating a Web Conversations Client. To get started, go to https://webconversations.digitalcx.com/ and click the "+" button to create a new configuration. Then, select 'Web Chat V2' as the 'type'.
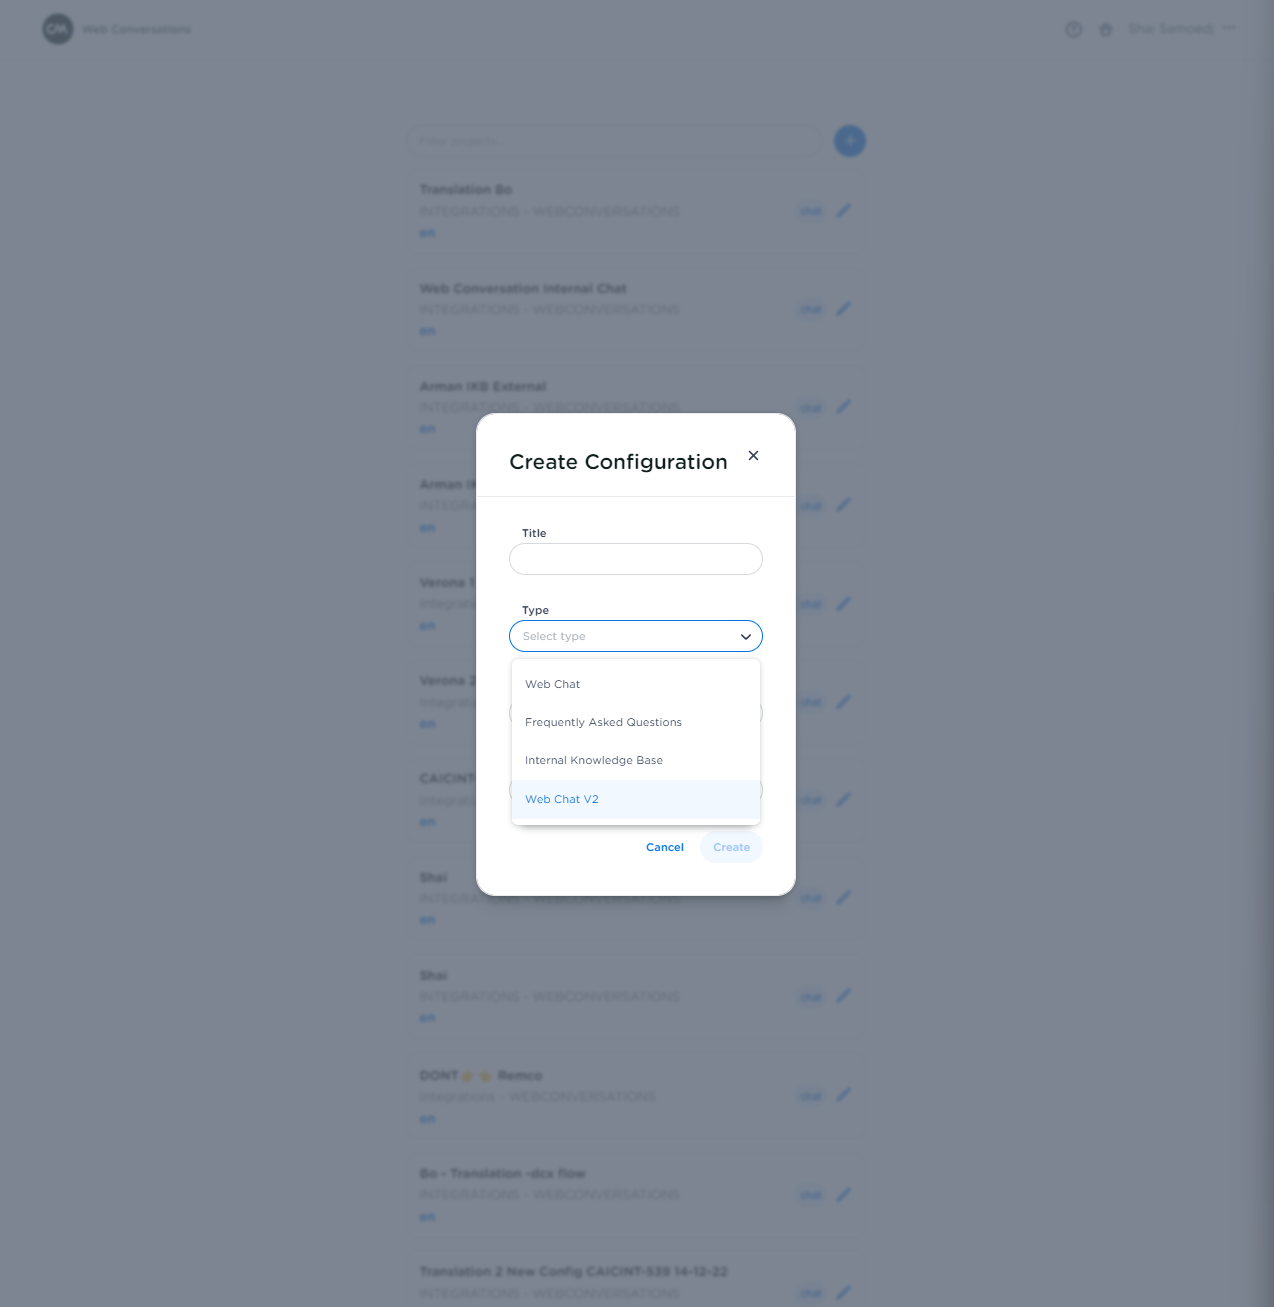
At 'Project,' you can select the Conversational AI Cloud database to which you want to connect. 'Culture' determines the content within the project's scope from which the answer will originate.
After creating your configuration, you will be redirected to an interface where you can configure your Web Conversations configuration.
Settings
Clicking on the left side of the settings menu will expand three submenus on the right side of the user interface:
Conversational router:
- Product token: This is the product token belonging to the CM.com Conversational router account.
- Account ID: The technical link ID of the Conversational Router can be retrieved by clicking the 'Copy Outbound Url' button in the Conversational Router and copying the first ID right after 'accounts/.' For example: https://api.conversational.cm.com/conversational/router/v1/message-receivers/business-messaging/accounts/THISID/messages
- Adapter ID's:
Web Conversations: The adapter ID of the TwoWay adapter configured to connect Web Conversations
Conversational AI Cloud: The adapter ID of the TwoWay adapter configured to Conversational AI Cloud.
Live Chat Provider: The adapter of the MSC adapter or any other live chat provider.
Conversational AI Cloud:
If your project isn't displaying any data during testing, it's possible that you haven't published it yet or that you're testing in the wrong environment. Use this submenu to select the environment from which the data needs to be retrieved:
- Production (after publishing your project on https://cms.digitalcx.com/)
- Staging
- Development
Presence check
You can enable the presence check here. The check will be executed based on the API key that you fill in. It verifies if there is an available agent for handover to the Mobile Service Cloud.
Texts
In the "Texts" menu, you can set the following options: title, subtitle, input field placeholder text, handover topic (text that appears when a handover to Mobile Service Cloud is initiated), menu text, reset feature text, and choose again feature text.
Theming
If you want to customize your Web Conversations Client, the theming configuration gives you the option to style the UI to your liking. You can give your bot theme colors, background colors, dimensions, and even add custom CSS. Additionally, you can add a custom avatar icon.
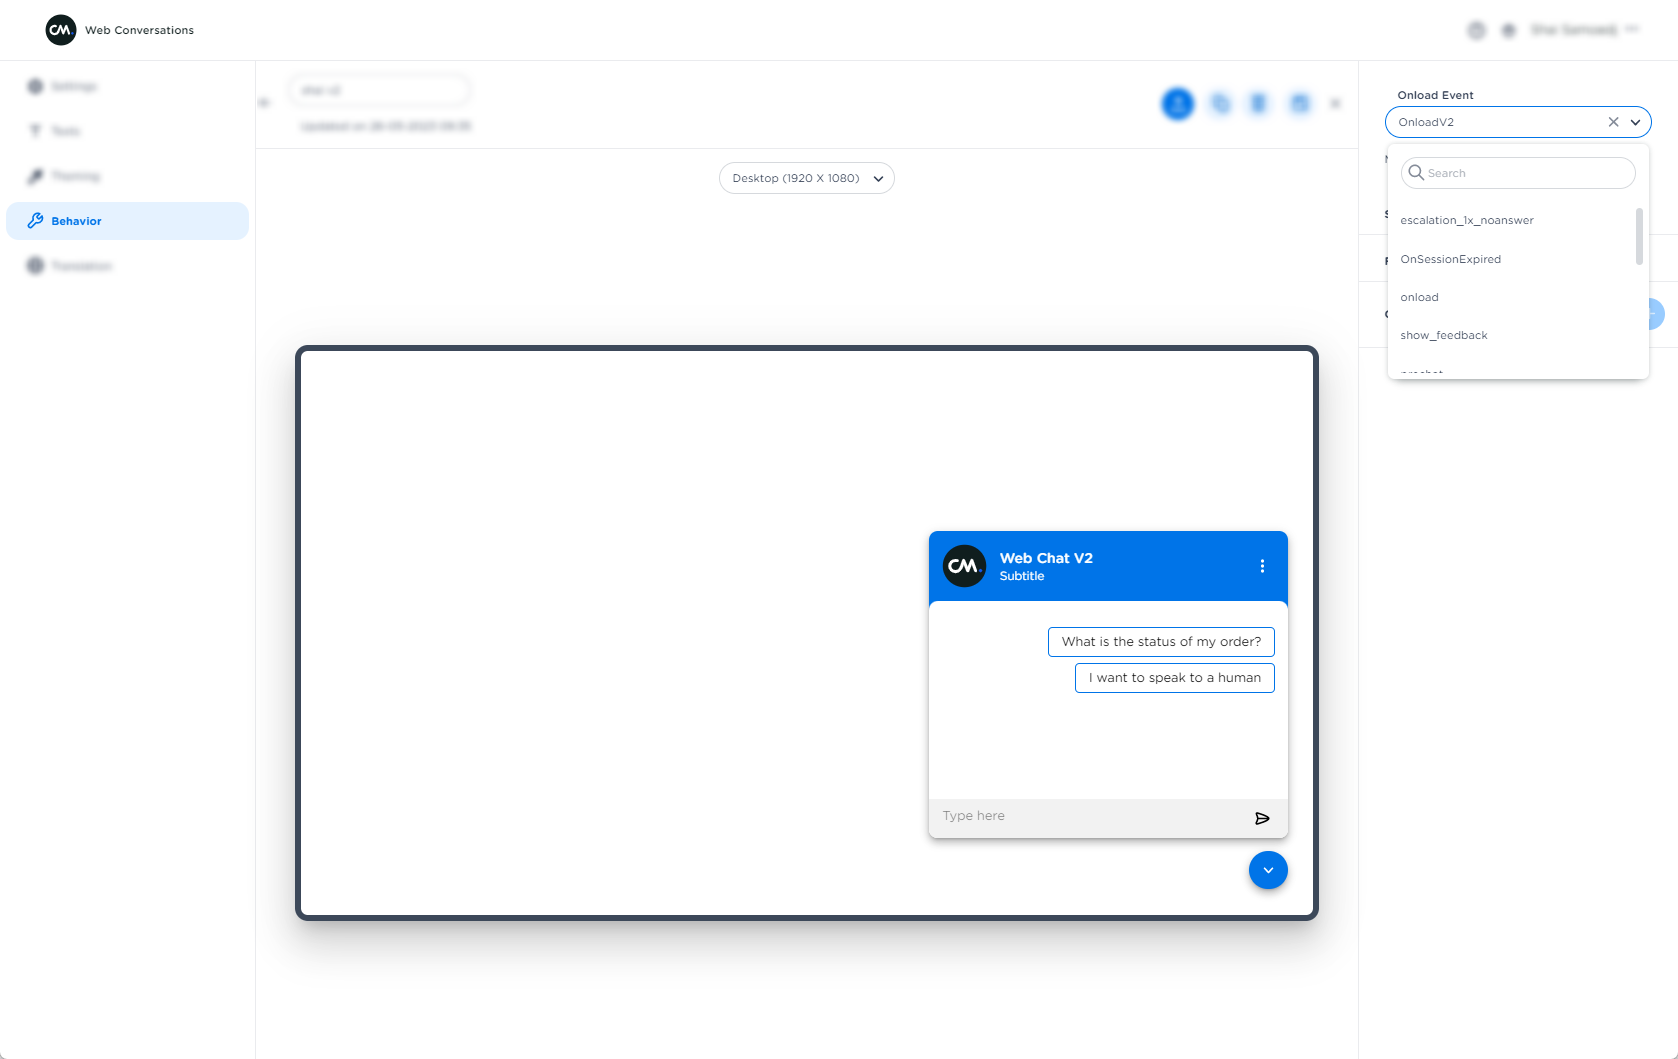
Behavior
At behavior, you can define which event needs to be triggered on load. You can do this by selecting your event at 'Onload Event':
In the 'Session' menu, you can decide when a session expires, and in the 'Feedback' menu, you can enable feedback. Additionally, in the 'Behavior' menu, you can add context.
Translation
At translation, you can activate the automatic translation feature. Once activated, a dropdown menu will appear, and you can select the desired language. Keep in mind that the selected language needs to be activated on a project basis.

Updated about 1 year ago